The Bat
Well, so much for finishing the anglerfish sculpture before I let myself start on another scale model. I'll let my self off the hook this time, because the Ma.K Fledermaus was calling my name.
I've always loved the look of this 1/20 kit, with its spindly legs and big head/little body. I love how cramped the cockpit looks, like the pilot has to wriggle him/herself in like an Apollo astronaut. "Fledermaus" means "bat" in German. How cool of a name is that?
(C) Kow Yokoyama 1997
(C) Kow Yokoyama 1997
It's a great kit (despite being famous for some fit problems and some gaping holes into the interior of the kit), and I want to build an interesting diorama to frame it. This time I'm going to go for something more urban for the diorama; but first, the kit build.
Cockpit
Like I said, I like the idea of the cockpit being cramped and full of levers and dials and stuff, so I challenged myself to trick out the sparse cockpit.
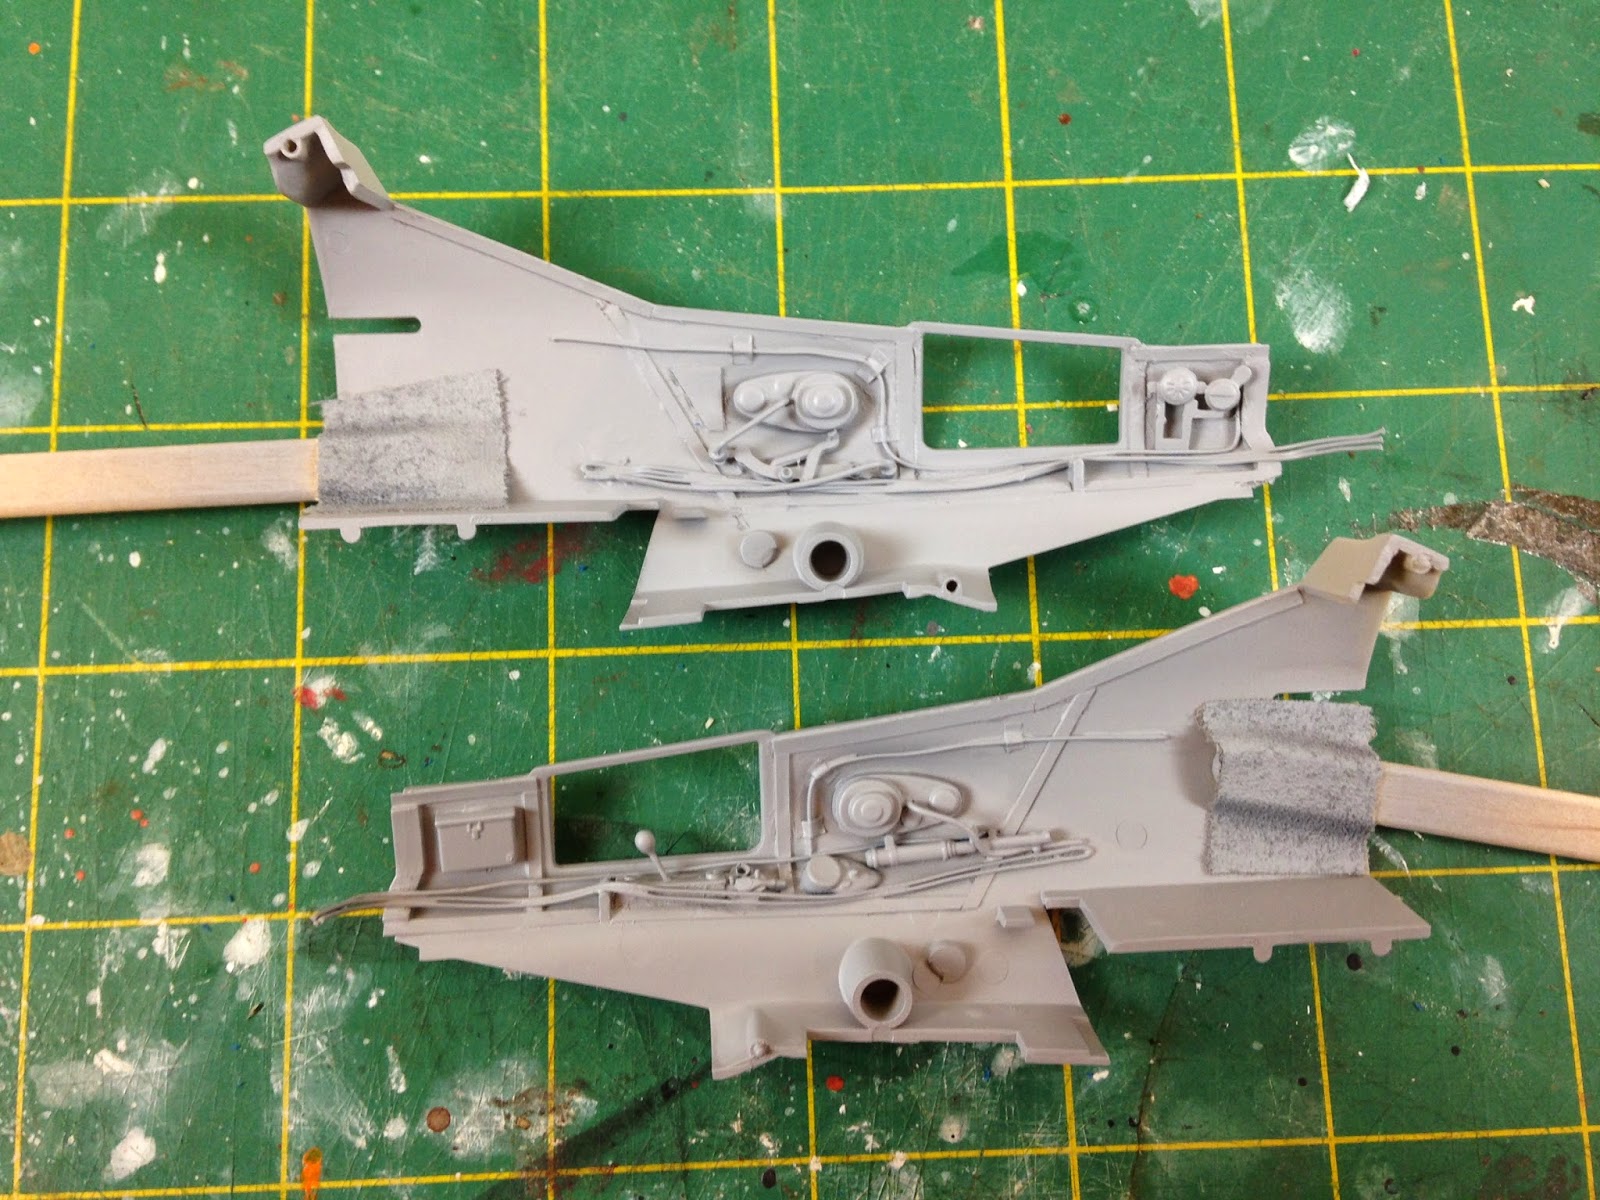
I started in on the interior sidewalls, with lots of wire and little bits from my spares box. An old Testor 1/35 WWII motorcycle kit and an old 1/35 field tool kit proved especially useful for donor parts.
Given where I want to go with the story in the diorama, I also knew that I would need an open storage compartment somewhere, so I cut a hatch into the back of the cockpit, built a box behind it, and leaned the pilot's seat forward like you would in your Toyota Camry. I'll fill that compartment with various supplies for the pilot. In the shot below you can also see some sort of oxygen tank mounted above the pilot's left shoulder, made from an old miniature light bulb, a part from a guitar string, and a spare from the motorcycle kit. Fun stuff.
I also thought it would be cool to build a joystick, or whatever you call it - something like what you see in helicopters. Brass rod and Milliput did the trick.
Here are the pre-painted items to go into the storage compartment. A blanket, a water bottle, an MRE (meal ready to eat - made from super thin tin), some welding goggles (strap added with lead foil), and a few tools from the 1/35 field kit (they were too big for that scale anyway).
Man, I should clean my cutting mat. It looks like a flock of pigeons pooped all over it.


